HOW IT WORKS
Three steps. No painting. No glue. No polarity headaches.
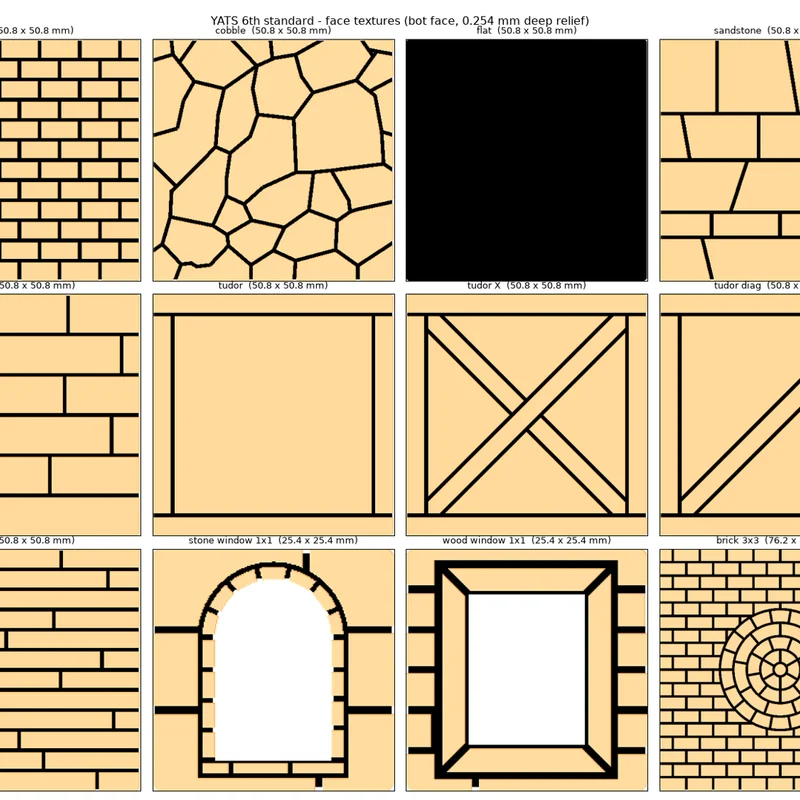
Each tile is two flat halves. Print them face-down on a textured plate. No supports needed.
Want colored grout lines? Swap filament after the first layer. Dark grout first, then your main color. That's it—no painting. On a multi-material printer, just set the colors however you like in your slicer.
ASSEMBLE
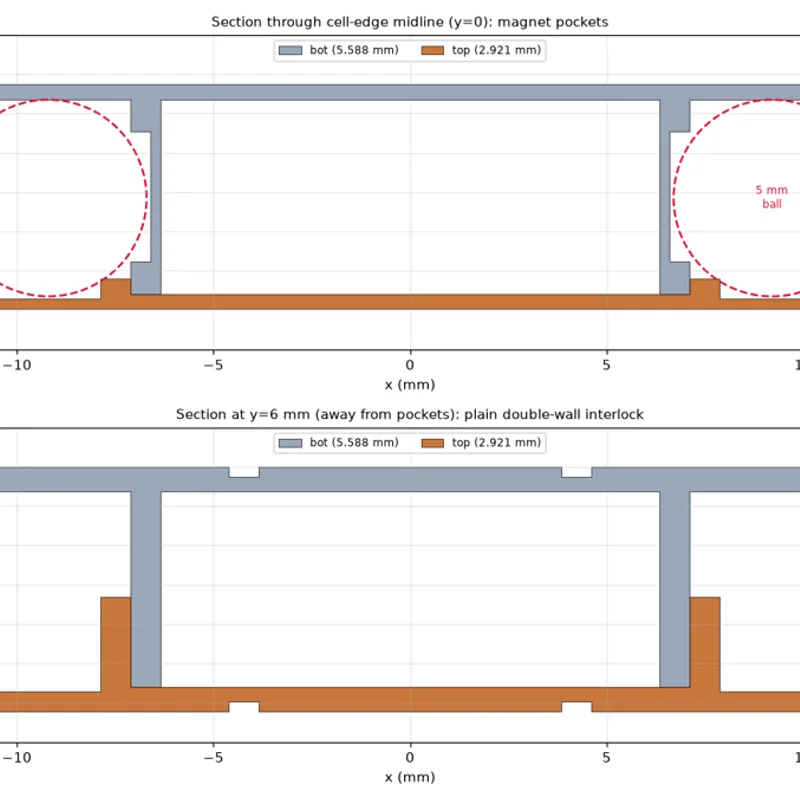
Drop 5 mm magnetic balls into the pockets. Press the top half on. Done.
The balls spin freely, so there's no polarity to worry about. Any edge connects to any edge.
5 mm magnetic balls are easy to find online. American sellers ship fast, or order from overseas sellers for much cheaper in bulk.
PLAY
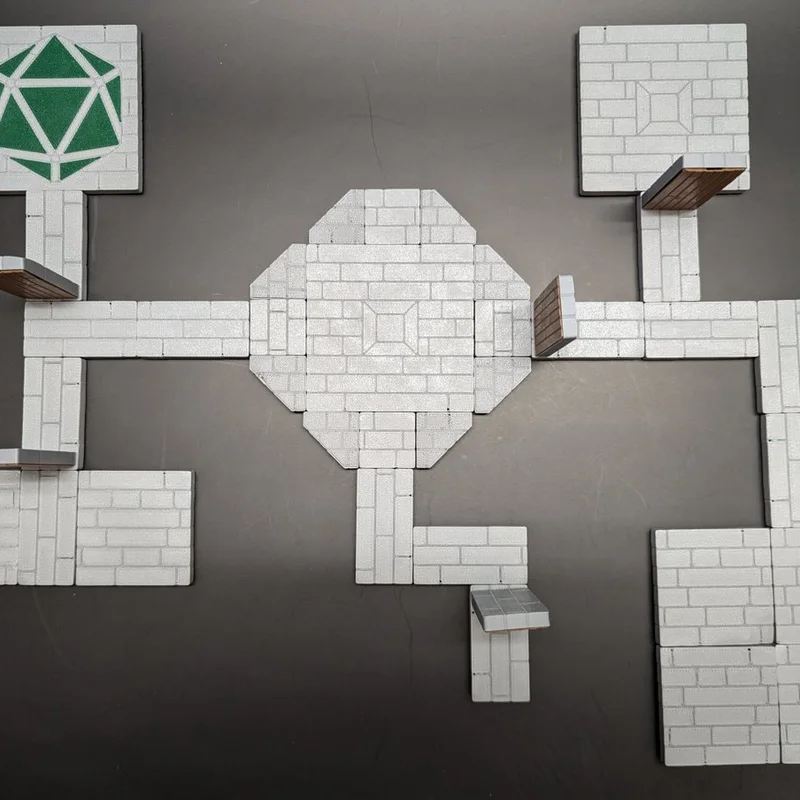
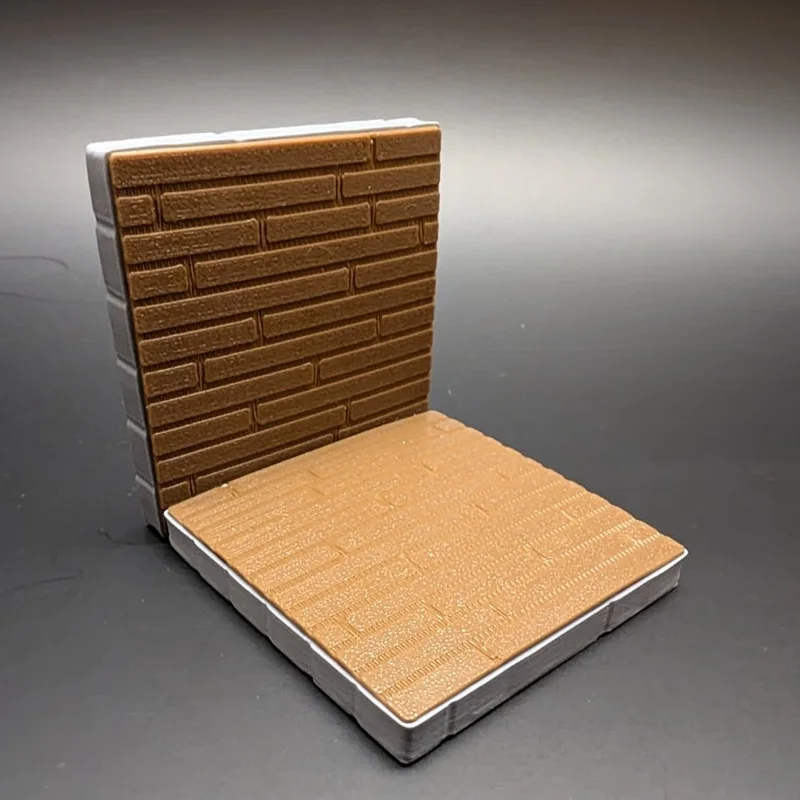
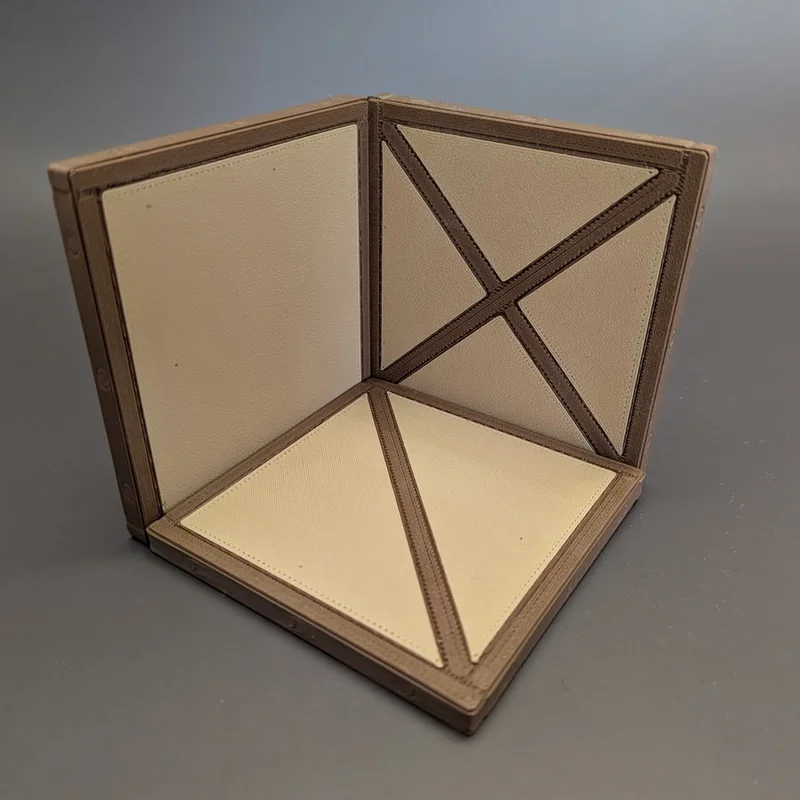
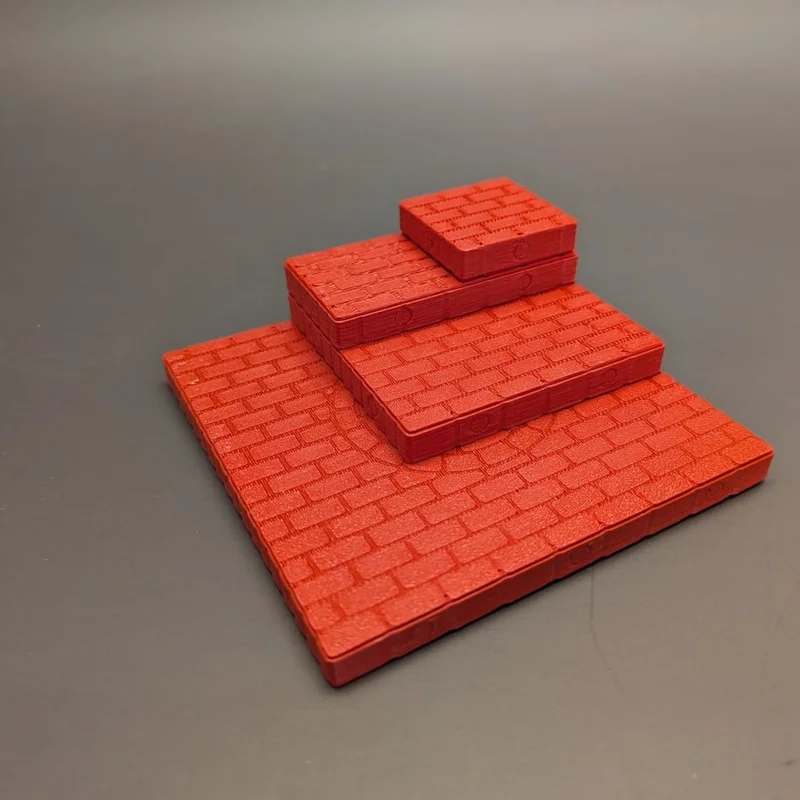
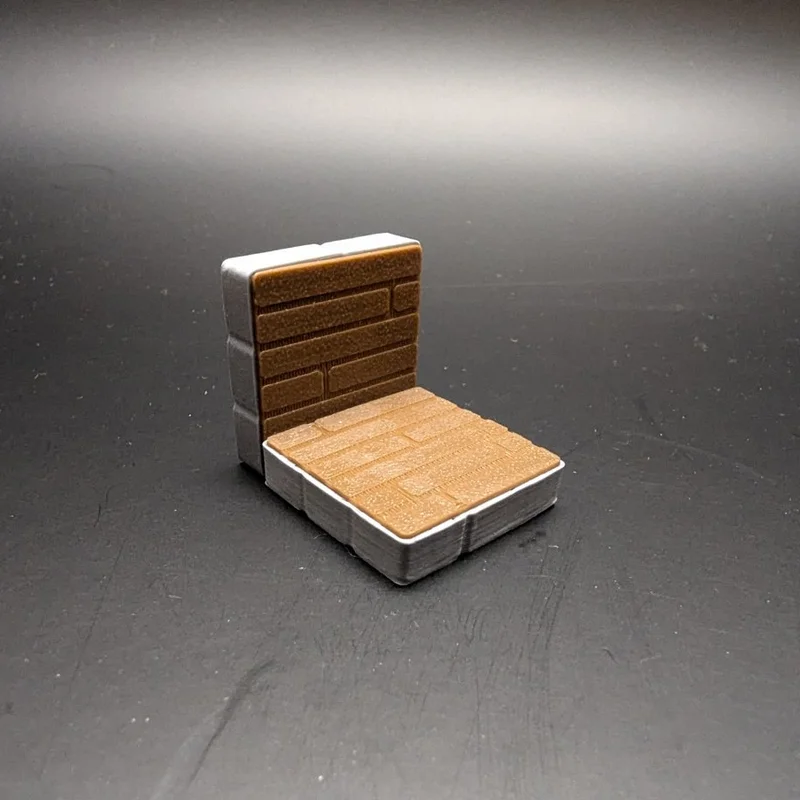
Click tiles together to build floors. Stand them on edge—instant walls that grab the floor magnetically.
Both faces are playable. Mix brick with wood, stone with sandstone. Flip a tile to change the scene.
The 3×3 tiles have center magnets so walls can attach mid-tile—a trick only YATS does.
READY TO BUILD?
The free Flat set has everything you need to try the system.